react를 처음 설치를 할 때, 2가지 방법이 있다. 하나는 npm을 이용해서 설치를 하고 webpack과 babel을 이용하여 커스텀화 시킬수 있고, 다른 한가지 방법은 react cli를 활용하는 방안이다.
특징들을 비교해 보면...
# npm 설치
- 원하는 라이브러리만 설치가 가능하다.
- 필요한 기능들만 넣어서 cli에 비해 가볍기 때문에 build 시간이 절약
- webpack 및 babel 설정이 필요하기 때문에 초기 setting이 오래 걸린다.
# cli 설치
- 쉽게 설치가 가능하다.
- 필요한 기능 이외에 다른것들 까지 설치가 되어 build 시간이 보다 오래걸린다.
## cli 설치
cli설치 명령어는 다음과 같다. 폴더명 뒤에 옵션들을 넣을 수 있고, react를 설치할 때 필요한 라이브러리들을 같이 설치 가능하다.
npx create-react-app [폴더명]

//예시
npx create-react-app my-project --template typescript
npx create-react-app my-project2 react-router-dom
## npm 설치
npm으로 설치를 했을 때, 기본적인 setting 이 필요하다. react 가 실행할 기본적인 html 파일 필요하고, build를 하기위한 webpack 설정과 babel 설정들이 필요하다.
- webpack: bundler
- babel: compiler
### npm 으로 react custom 설치
- 리액트를 설치할 폴더를 만들고 폴더로 이동을 한다.
mkdir my-project
cd my-project
- 폴더로 이동 후에 git과 npm을 초기화를 시켜준다.
git init

npm init -y
- 소스들을 넣을 수 있는 폴더를 만들어 준다.
mkdir src
cd src
- touch 명령을 통해서 index.html 파일을 만들어 준다.
- index.html 파일은 rendering을 시킬 html 파일이다. React cli를 통해서 설치를 하면 public 폴더에 있는 html 파일과 동일하다.
- 파을 만들고, 거기의 html 태그들을 넣는다.(react cli로 설치한 html에서 가져왔다(주석 및 링크 태그 삭제)
touch index.html

// at index.html
<!DOCTYPE html>
<html lang="en">
  <head>
    <meta charset="utf-8" />
    <meta name="viewport" content="width=device-width, initial-scale=1" />
    <meta name="theme-color" content="#000000" />
    <meta
      name="description"
      content="Web site created using create-react-app"
    />
    <title>React App</title>
  </head>
  <body>
    <noscript>You need to enable JavaScript to run this app.</noscript>
    <div id="root"></div>
  </body>
</html>
- react와 react-dom을 설치를 한다.
npm install react react-dom
- index.js에 react cli 와 동일하게 render을 시켜줄 수 있도록 코드를 작성한다.
- react를 통해서 render 준비는 끝
import React from "react";
import ReactDOM from "react-dom";

ReactDOM.render(<div>Hello wolrd</div>, document.getElementById("root"));
- webpack을 설치한다.
- webpack-cli은 webpack command
- webpack-dev-server는 local 환경에서 react를 켤때 사용
npm install webpack webpack-cli webpack-dev-server
- webpack의 설정 값들을 넣을 수 있도록 config 파일을 만든다
touch webpack.config.js
- webpack의 entry point를 설정한다. 나중에 번들을 했을 때, 어떤 파일을 번들의 시작점을 지정(entry 속성)
- 번들하고나서 output을 설정한다. output은 번들이 끝나고 파일을 어디에 넣을지 output.path 속성에 지정한다. 번들을 하고 나면 그 결과 파일들은 dist 폴더에 저장하겠다는 의미
// at webpack.config.js

const path = require('path')

module.exports = {
  entry: path.join(__dirname, 'src/index.js'),
  output: {
    path: path.resolve(__dirname, "dist")
  }
}
- index.html 파일도 번들 할 수 있도록 webpack에 설정을 한다.
- 그러기 위해선 webpack plugin 을 사용한다.
npm install html-webpack-plugin
- webpack에서 plugin을 사용하려면 plugin 속성을 사용한다.
// at webpack.config.js

const path = require("path");
const HtmlWebpackPlugin = require("html-webpack-plugin");

module.exports = {
  entry: path.join(__dirname, "src/index.js"),
  output: {
    path: path.resolve(__dirname, "dist"),
  },
  plugins: [
    new HtmlWebpackPlugin({
      template: path.join(__dirname, "src/index.html"),
    }),
  ],
};
- babel을 설치한다.
npm install @babel/core babel-loader
- babel/core는 핵심 변환을 돕는다.
- babel-loader는 webpack 사용할 바벨 변환기
- webpack.config.js 파일에 설정을 추가한다.
- module을 설정하고 rules라는 설정을 추가했다. test는 어떤 파일들을 읽을 건지 정규표현식으로 나타낸다. js 파일들을 읽는다는 것이다.
- css 파일들을 읽을 수 있도록 rules에 추가를 해야 css 파일들이 적용이 된다.
const path = require("path");
const HtmlWebpackPlugin = require("html-webpack-plugin");

module.exports = {
  entry: path.join(__dirname, "src/index.js"),
  output: {
    path: path.resolve(__dirname, "dist"),
  },
  module: {
    rules: [
      {
        test: /\.?js$/,
        exclude: /node_modules/,
        use: {
          loader: "babel-loader",
        },
      },
    ],
  },
  plugins: [
    new HtmlWebpackPlugin({
      template: path.join(__dirname, "src/index.html"),
    }),
  ],
};
- babel preset은 번들할때, 브라우져가 이해할 수 있는 javascript 형태로 변환
- mode를 꼭 추가를 해준다.
npm install @babel/preset-env @babel/preset-reactconst path = require('path');
const HtmlWebpackPlugin = require('html-webpack-plugin');
module.exports = {
mode: "development",
entry: path.join(__dirname, "src", "index.js"),
output: {
path:path.resolve(__dirname, "dist"),
},
module: {
rules: [
{
test: /\.?js$/,
exclude: /node_modules/,
use: {
loader: "babel-loader",
options: {
presets: ['@babel/preset-env', '@babel/preset-react']
}
}
},
]
},
plugins: [
new HtmlWebpackPlugin({
template: path.join(__dirname, "src", "index.html"),
}),
],
}
- npm 명령어로 실행 될수 있도록 package.json script에 명령어를 추가한다.
"scripts": {
    "dev": "webpack serve",
    "build": "webpack"
  }
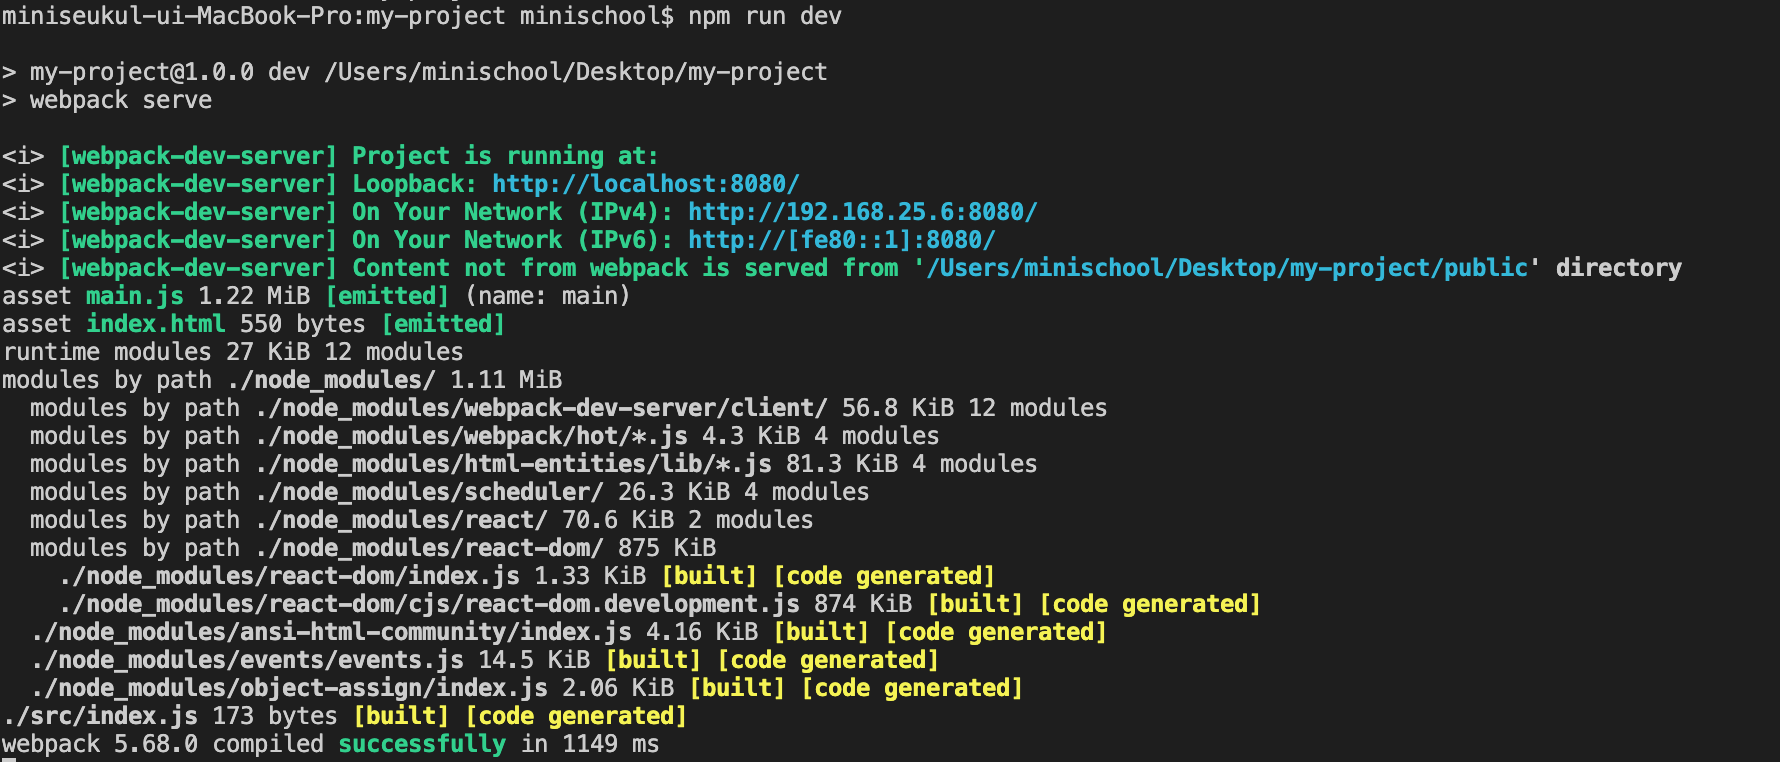
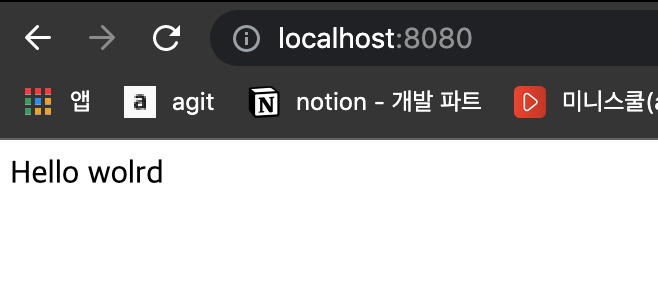
npm run dev를 실행하면 아래와 같이 터미널에서 확인 가능하다. 그리고 http://localhost:8080에 접속을 하면 index.js에 설정한 hello world를 확인 할 수 있다.
참조 블로그
https://medium.com/age-of-awareness/setup-react-with-webpack-and-babel-5114a14a47e9
Setup react with webpack and babel
Guide to setup react from scratch, without using create-react-app and by configuring webpack and babel manually.
medium.com
'Coding > React' 카테고리의 다른 글
| React - React environment 설정(.env) (0) | 2022.02.13 |
|---|---|
| React - regeneratorRuntime is not defined (0) | 2022.02.03 |
| React - Error: The specified module could not be found. (0) | 2022.01.05 |
| React - Context API (0) | 2021.12.19 |


